Posts

Enhanced Outline Material
Image
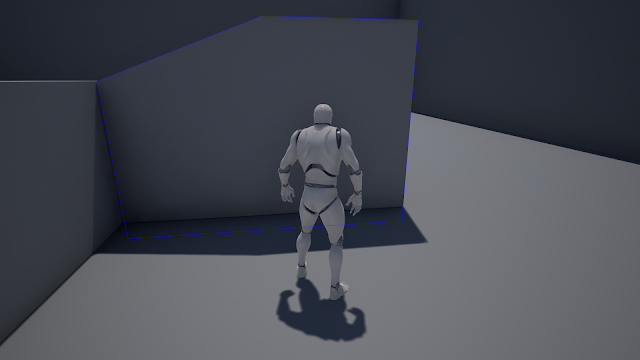
Step 0. You can see how to make a outline material and an unsolved problem on the previous post(Can't see outline behind a outlined object). More detail :  Draw outline Step 1.  - Find file from Unreal Engine 4 source code(UE4 version 4.14) : Engine\Source\Runtime\Renderer\Private\CustomDepthRendering.cpp  - Remark SetDepthStencilState Operation and add new stencil buffer operation code. This code is a little bad to avoid 'expression must have a constant value' error. But you can make it better... /// Original. //RHICmdList.SetDepthStencilState(TStaticDepthStencilState<true, CF_DepthNearOrEqual, true, CF_Always, SO_Keep, SO_Keep, SO_Replace>::GetRHI(), CustomDepthStencilValue); /// GameEngineBread : Outline switch ( CustomDepthStencilValue ) { case 1 : RHICmdList.SetDepthStencilState( TStaticDepthStencilState< true , CF_Always, true , CF_Always, SO_Keep, SO_Replace, SO_Replace, false , CF_Always, SO_Keep, SO...

Draw outline

Image
Step 0. We will use a stencil buffer to draw outlines. Step 1. First of all, enable stencil buffers.  Menu -> Edit -> Project Settings -> Custom Depth-Stencil Pass -> set 'Enabled with Stencil' For each actor that you want to draw with outline,  Select Actor in viewport -> See Details Windows-> Check 'Render Custom Depth Pass'  Select Actor in viewport -> See  Details Window-> Change 'CustomDepth Stencil Pass' to 'Enabled with Stencil'. There are many ways to draw outline, but this is the best material to start : https://answers.unrealengine.com/questions/316814/how-to-hide-outline-post-process-effect-behind-obj.html This is a little enhanced version. Draw each line with a different color.  Step 3. Near outline object removes other outlines. Maybe it is not what you want. We can fix this with Unreal Engine code modification. It's too long to describe now, so I will show you it next post. ...

Change Material Parameters in Runtime

Image
Step 0. You can change materials of post process volume but it's very hard without native code. Using 'Post Process Component' is more simple and working without c++. Step 1. Add a 'Post Process Component' to my PlayerController. Step 2.  - Add a member variable. Type is 'Material Instance Dynamic'.  - On BeginPlay, Create a new instance and make the post process component of this controller use it.  - Add Some key events for testing.

Screen Wave Effect Material

Image
Step 0. Let's make a screen wave post process material. It's good for dizzy or drunken effects. Step 1. This is the final unreal engine material. In this time, I made horizontal wave nodes only. Step 2. To avoid boundary error(stretching), need more operations. You can see the modified material in the image below. It is not perfect, but it tells you how it works.

Screen Mosaic Effect Material

Image
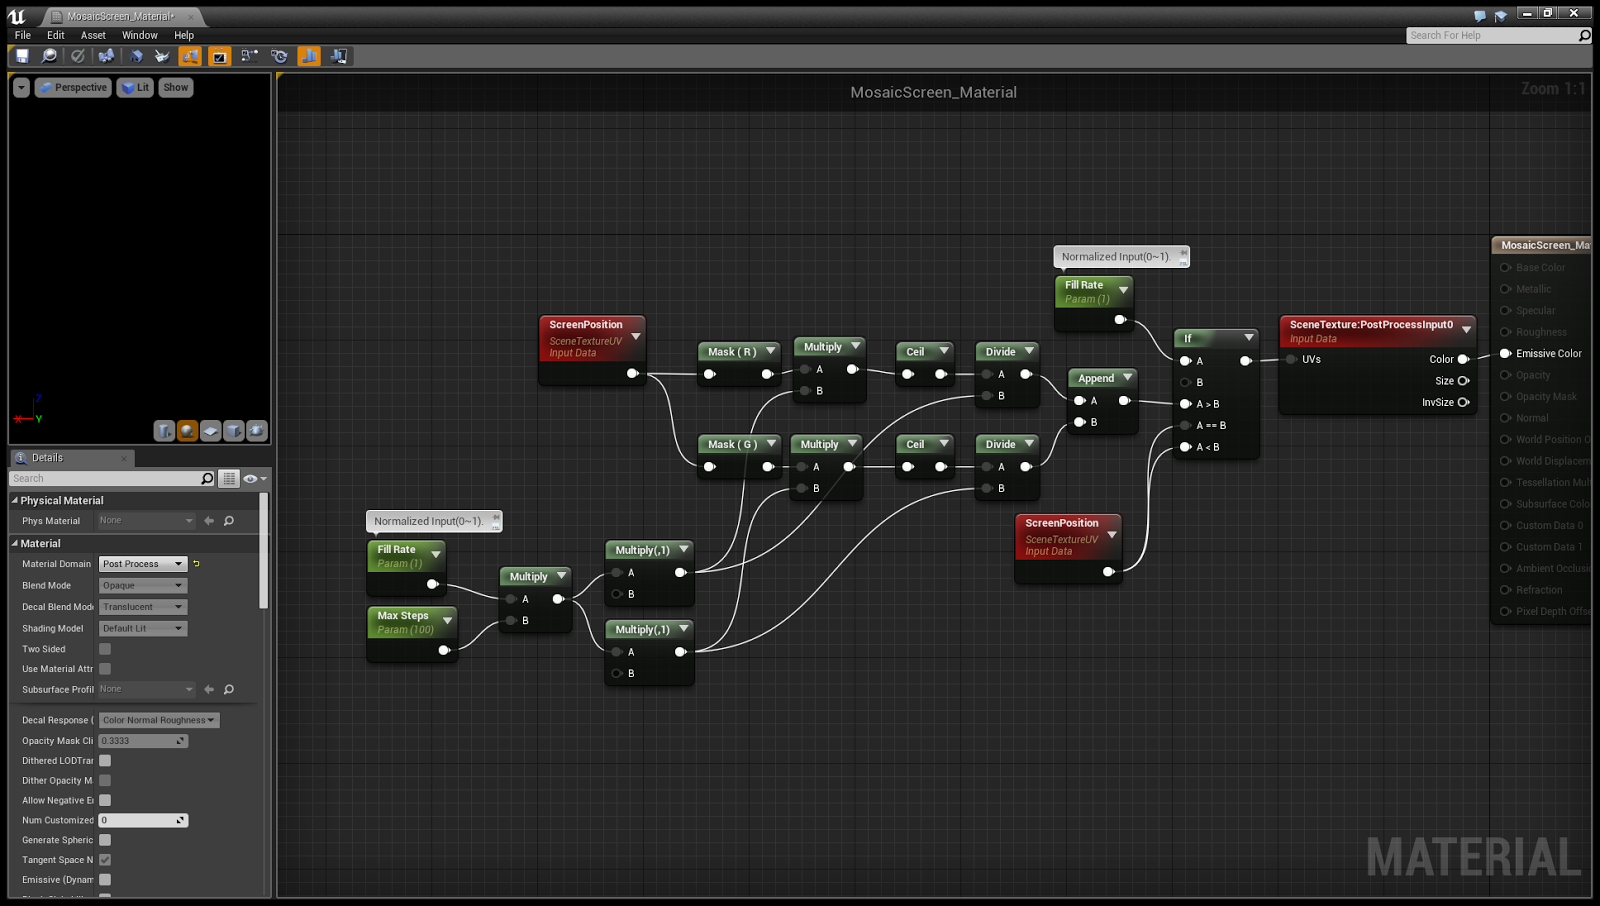
Step 0. Let's make a simple mosaic material. Step 1. This is the final material.  You may modify 'Fill Rate' parameter only in game. Step 2. How to setup post process volume : Screen Ripple Effect Material Step 3. We need to change material parameters of the volume in game again...  But I will show you later.

Screen Ripple Effect Material(Fixed Version)

Image
Step 0. In this post, creates a material for use in the water. We need...  - Vertical/Horizontal waves.  - The length and time must be adjustable. Step 1. This is the final material. It's Unreal Engine 4 material but you can convert it for Unity Engine too. Step 2. Setup a Post Process Volume. Find Post Process Volume and drag to the level. Check unbound. Add the material to blendables array. Step 3. We need to change material parameters of the volume in game. I think it is not simple to describe it now, so, I will show you other post.

c# code to generate a custom texture

Image
Previous post: How to make circular progress bar(2nd) How to make circular progress bar Let's see how to generate a custom texture. Added : If you know python consider this. https://gameenginebread.blogspot.com/2017/12/texture-generator-python-per-pixel-c.html Step 1. Create C# Project. Step 2.  This form1 class code that create a new BMP with PerPixelAction function. using System ; using System.Collections.Generic ; using System.ComponentModel ; using System.Data ; using System.Drawing ; using System.Linq ; using System.Text ; using System.Threading.Tasks ; using System.Windows.Forms ; namespace TexGenTest { public partial class Form1 : Form { public static double DegToRad = 0.0174533 ; public delegate Color PerPixelAction ( int x, int y, Size ImageSize, Bitmap BitmapData, double Para1, double Para2, double Para3 ); public Size MidSize = new Size( 128 , 128 ); public Form1 () { ...